
How to Install Gutters
Published 10/08/24
Are you ready to protect your home from water damage with a reliable gutter system? Installing gutters is a vital step in safeguarding your property, but the process involves more than just attaching metal channels to your roof. Proper preparation and the right resources are essential to ensure a successful installation that will keep your home safe for years to come.
In this comprehensive guide on how to install gutters, we’ll walk you through everything you need to know—from selecting the perfect gutter type for your home to gathering the necessary tools and mastering the installation steps. Whether you’re a DIY enthusiast or planning to hire a professional, these tips will help you achieve flawless results and enhance your home’s durability and curb appeal.
Look at Your Home’s Needs
Long before you’re standing in the yard with gutters, you need to consider what your home needs and how you can ensure that it’s protected from water damage. After all, that is the purpose of gutters: to act as a vehicle for moving water away from your home. You’ll need to consider:
- Roofing. What is the state of your roof? Do you need to repair this before adding gutters or do it along with your gutter installation?
- Gutter covers. Do you get a lot of debris in your gutters that damages them in the long term? If so, consider adding gutter covers the next time you install your gutters. These will help you reduce the amount of debris that can lead to sagging, damaged gutters.
- Gutter heat. Adding a gutter heating system to your gutters can save them during the winter months. Your gutters will no longer fill up with ice and snow and back up water onto your roof. Instead, water will flow freely into your downspouts.
- The fascia and soffit. The Family Handyman reminds us to “inspect the fascia and soffit for signs of rotted wood, which will need to be replaced before you put up the rain gutters.” Don’t put your new gutters onto a poor quality base.
- Downspouts. These are also part of your water removal system for your home. If they’re clogged or just not the right size, your entire gutter system could be compromised.

Choosing Your Gutters
Gutters should be stylish and complement your home. Consider the following aspects of your gutters as you decide what’s best for your home:
- Gutters come in aluminum, steel, copper, vinyl, and zinc. Choose the most durable material that you can afford. This will help your gutters last for a long time without warping, sagging or rusting.
- Talk with your hardware store about the gutter width that’s right for your home. Different houses have different roof sizes and pitches, and this will impact how much water comes off of your home at one time.
- Consider what style of gutter complements your home. K-style gutters have flat bottoms and backs and often look like crown molding. Half-round gutters are half of a tube. They often suit old-style or historic homes.
- Think about what gauge of gutter you need. While the standard is 26 gauge, consider going for a higher gauge such as 32 in areas with a lot of snow, ice, and heavy rain.
Gathering your Gutter Installation Tools
Before embarking on your DIY gutter installation journey, it’s crucial to assemble your toolkit. Think of it as preparing for battle against water damage – you wouldn’t go into combat without the right weapons, would you? Your arsenal for this home improvement mission includes a variety of specialized tools, each playing a vital role in ensuring your gutters are installed correctly and function efficiently.
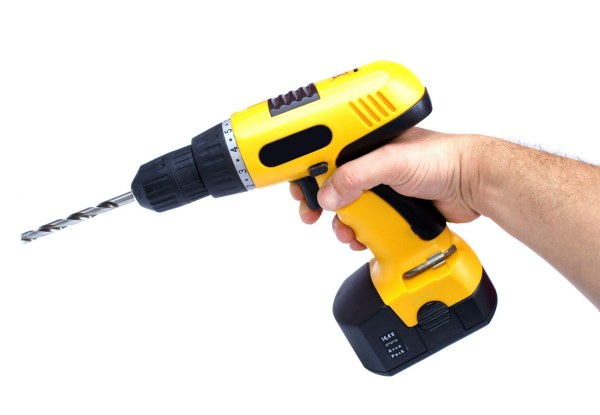
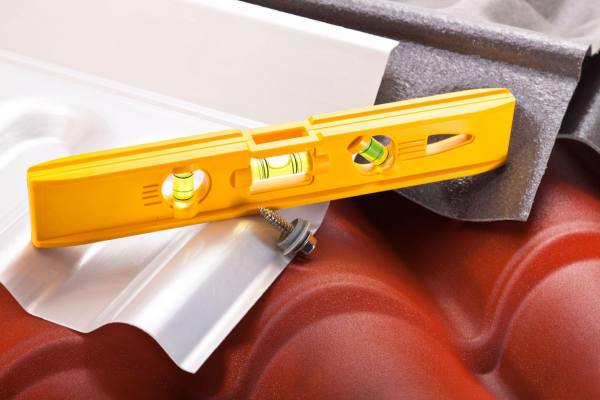
Let’s start with the basics. A sturdy ladder is your ticket to reaching those lofty heights where gutters reside. It’s wise to have multiple sizes on hand to tackle different areas of your home. Once you’re up there, you’ll need a chalk line to map out your gutter’s path, a tape measure for precision, and a level to ensure proper drainage slope. Don’t forget the gutter sealant and caulking gun – they’re your first line of defense against leaks. A gutter crimper will be your ally in securing end caps, while a hacksaw or tin snips (including the specialized duckbill variety for tougher materials) will help you custom-fit gutter sections. To fasten everything securely, arm yourself with a screwdriver or drill, and opt for screws over rivets when installing downspouts – your future self will thank you when it’s time for cleaning.
Remember, these tools aren’t just for show – they’re powerful allies in your quest for a watertight home. However, with great power comes great responsibility. Many of these tools are sharp and potent, capable of causing injury if mishandled. Approach each one with respect and caution, following proper usage guidelines. After all, the goal is to protect your home from water damage, not to flood the emergency room with DIY casualties. With the right tools in hand and a healthy dose of care, you’ll be well-equipped to tackle your gutter installation project like a pro.
Installing Sectional Gutters
How can you install sectional gutters properly?
- Plan Your Installation: Before assembling your gutters, carefully plan the layout to minimize seams. Fewer seams mean fewer potential leak points, so planning is crucial.

- Plan Downspout Locations: Choose downspout positions where water can be directed safely away from the foundation of the house. Avoid locations that require working around obstacles.
- Gather Materials: Collect the required gutter sections and mounting hardware before beginning your installation.
- Cut Gutters to Size: Use tin snips to cut the gutters to the appropriate lengths.
- Cut Notches for Connections: When joining gutter sections, cut a 2-inch notch for inside or outside corner pieces, and a 4-inch notch for splicing two straight sections together.
- Assemble Sections: Snap the gutter sections together on the ground, if possible, as it’s easier. Apply a bead of gutter sealant 1 1/2 inches from the edge of the connection, hook the corner piece over the notch, and then snap the sections together.
- Rivet Sections Together: Drill holes and rivet the sections together using six evenly spaced rivets per connection.
- Seal the Joints: Apply gutter sealant to the inside of each seam and also cover each rivet to prevent leaks.
- Attach End Caps: At the end of each gutter section, extend it 1 inch past the fascia board and attach an end cap using rivets. Seal the interior of the cap with gutter sealant.
- Prepare for Downspouts: Mark the center of each downspout location on the gutter. Cut a V-shaped notch using a chisel, then use tin snips to create the downspout hole, cutting slightly beyond your initial marks for a precise fit.
- Install Downspout Outlets: Insert the downspout outlet into the hole, drill holes for the rivets, and secure the outlet with rivets.
- Check the Slope: Use a level and tape measure to ensure proper drainage. Gutters should slope downward toward the downspouts at a rate of ½ inch for every 10 feet. For longer gutter runs (40 feet or more), slope in both directions from the middle and install downspouts at each end.
- Secure Gutters to Fascia: Attach the gutters to the fascia using 1 1/4 inch stainless steel hex head sheet metal screws, spaced every 2 feet for stability.
- Install Gutter Flashing: Slide gutter flashing under the roof shingles and secure it with nails to prevent water from getting behind the gutters.
- Install Gutter Hangers: Secure gutter hangers every two feet along the gutter to provide additional support.
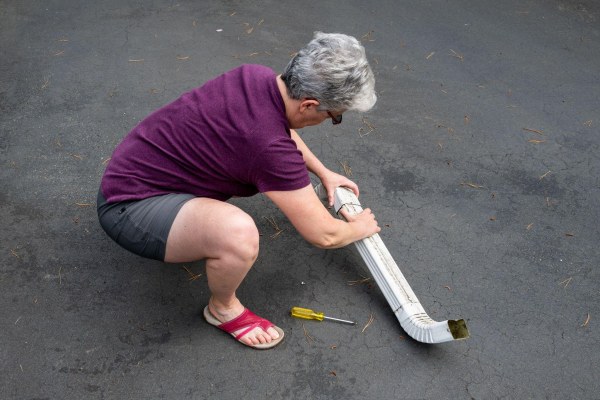
- Add Downspouts: Attach the downspout elbow first, then secure downspout brackets to the wall and install the downspout, ensuring it’s firmly attached to guide water away from the foundation.







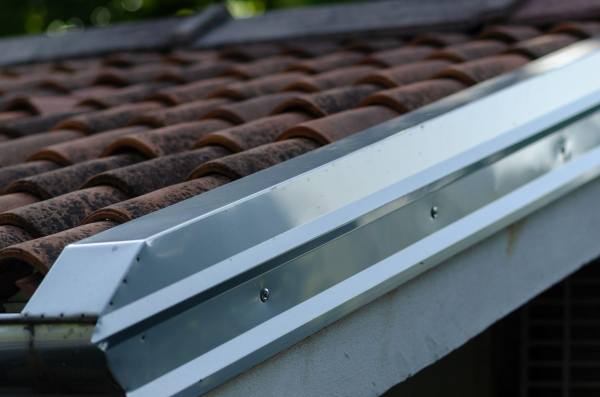


Essential Tips for Installing Sectional Gutters Correctly
Installing sectional gutters requires careful planning and attention to detail to ensure they function effectively and protect your home from water damage. Here are some essential tips to help you achieve a successful gutter installation:
1. Inspect Roofing, Fascia, and Soffit Boards
Before you begin installing your gutters, thoroughly inspect your roofing, fascia, and soffit boards for any signs of damage or rot. Ensuring that these structural components are in good condition is crucial, as they provide the necessary support for your gutter system. Repair or replace any compromised areas to create a stable foundation for your gutters.
2. Ensure Proper Gutter Slope
The angle at which your gutters are installed is vital for efficient water drainage. Aim for a slope of approximately 1/4 inch for every 10 feet of gutter length. This slight incline helps water flow smoothly towards the downspouts, preventing pooling and reducing the risk of debris accumulation. Use a level to maintain a consistent slope during installation.
3. Choose the Right Gutter Size
Selecting the appropriate gutter size is essential, especially if you live in an area with heavy rainfall or have a steep roof. Larger gutters can handle a greater volume of water, minimizing the chances of overflow during storms. Consider the roof area and local weather patterns when determining the optimal gutter size for your home.
4. Provide Adequate Support with Proper Hangers
Proper support is crucial to maintain the integrity and functionality of your gutters. Use enough hangers spaced appropriately (typically every 24-36 inches) to prevent sagging and ensure the gutters stay securely in place. Adequate support is particularly important in regions with high rainfall or heavy debris, which can add extra weight to the gutter system.
5. Secure All Connections and Seals
Ensure that all gutter sections are securely connected and that seams are properly sealed to prevent leaks. Use high-quality sealants and fasteners to reinforce the joints between gutter sections and at downspouts. Regularly check these connections to maintain the effectiveness of your gutter system over time.
6. Install Gutter Guards to Prevent Clogging
Gutter guards can significantly reduce the amount of debris that enters your gutters, minimizing the need for frequent cleaning and maintenance. They help keep leaves, twigs, and other debris out while allowing water to flow freely. Choose gutter guards that are compatible with your gutter type and installation method for optimal performance.
7. Test Your Gutter System
After installation, conduct a thorough test of your gutter system to ensure everything is functioning correctly. Use a hose to simulate rainfall and observe the water flow through the gutters and downspouts. Check for any leaks, improper slopes, or blockages, and make necessary adjustments to guarantee efficient water drainage.
8. Consult a Professional When in Doubt
If you’re unsure about any aspect of gutter installation, it’s best to seek professional assistance. Incorrect installation can lead to significant water damage and structural issues for your home. A professional installer can ensure that your gutters are properly angled, securely supported, and effectively divert water away from your property.
Why Proper Gutter Installation Matters
Properly installed sectional gutters play a crucial role in safeguarding your home from water damage. They direct rainwater away from your roof and foundation, preventing issues such as basement flooding, foundation cracks, and landscape erosion. By following these installation tips, you can ensure that your gutters function efficiently and provide long-lasting protection for your home
Should You Choose Seamless Gutters?
If you’re looking at your gutter options and you haven’t invested in sectional gutters yet, consider whether your home would benefit from seamless gutters instead. Seamless gutters are custom-made for your home. They only have seams at the corners, rather than having seams in the middle of one side of your roof. With off-the-shelf sectional gutter products, you need to patch your gutters together to make sure that they are long enough for your roof line. Seamless gutter products are created and installed by professionals on site.
Need Help with Gutter Installation? Contact Lednor Home Solutions Today!
At Lednor, we’re dedicated to making your home safe and well-maintained for you and your family. Whether you need gutter covers, gutters, or roofing services, our expert team is here to assist you every step of the way. Schedule Your Free Consultation Today and let us help you choose and install the perfect gutter solutions for your home.


